Pages

Tuesday, December 24, 2013

Warm Christmas Wishes

Merry Christmas!!
It is incredibly late and I am really enjoying this super fast internet that we have since the move out of the boonies into what I call civilization.  I'm listening to my favorite K-Pop station on iheart radio and just updating some things.
We recently moved closer to Jackson Ms, putting us near just about anything and everything. It's nice not to have to drive a whole hour to go to dinner or the nicer grocery store, lol.
I think that I am getting the end of the croup that went around to all the family in the house besides me. I was really hoping to escape it this time. 

Well, I have sold a few precious darlings this month

The Kaelin and Kadence preemie twins I was working on
I renamed Adeline and Audrey and they went to a wonderful new mommy.


Paisley was ready and sold quickly!

I always love it when I have so much interest in my babies.

This little angel isn't doing so well, but I really thought that she would get more attention than she has.


I think that it took me twice as long to finish her and pick out her adorable layette, but you never really know what will be sought after at the time.

I'll take pictures of our rooms upstairs as soon as we have furniture and organization, lol.
 
So excited about my next few projects!! 
Pictures tomorrow, er, today later, it's 1a.m. so I'm going to bed.
 
크리스마스 잘 보내
Have a great Christmas!!
Merry Christmas

Friday, August 16, 2013

More pictures of sweet Londyn

Okay, I know she is not mine. 
I know she is a doll. 
I know all these things, but she is just do darn cute!!

I had so much fun reborning her, and will definately be getting more Londyn kits in the future (one will most definately be for me, lol).
I had to play and take some pics while I was picking up today.


She is so precious!

I will have to share my other WIP's another time, but I can tell you that all of them have been painted (except Paisley) and one is complete in her rooting (Adeline) but next week will be my sewing week, so by the end of this weekend I will share my painted heads and limbs and next week I hope to show you a boat load of cute little baby clothes!

Ahn-nyong-hee geh-se-yo!
(Goodbye! in Korean, another project I will discuss later)

Also spelled an yeong hi ke se yo
literally meaning to stay in peace, as in I'm going first, stay in peace.


Monday, August 12, 2013

New projects, and Londyn by Denise Pratt.

With the sale of my beautiful Asian reborn baby "Lin-Mae" wrapped up and complete, I have decided to begin with my preemie twins Adeline and Audrey two beautiful sculpts from Denise Pratt. They are the Kadence and Kaelin sculpts and are precious. I will be working on my 10th and 11th reborn doll.
Here are the unpainted kits. First up: Kadence or "Audrey"
Then Kaelin a.k.a "Adeline"
And here, an example of the two twins together, reborn by a wonderful artist named Melissa George.
I REALLY don't like the black rotten belly button look! But this photo of their sweet little faces is just so cute, and made me fall in love with these tiny little babies.

I have already painted the twins.
With Audrey, I have ordered two sets of eyes for her.
One is a beautiful Hazel from J. Artistique, a great seller out of Texas.


One is an equally beautiful Ocean Blue from Mimiwoo, both on eBay.
She takes 18 mm round eyes. I found that with her small size, the iris takes up the entire opening, leaving a barely visible sclera (white part).
I wanted to love the ocean blue, but the hazel won out because of the slightly smaller iris. She doesn't look so "alien", even though looking at many pictures of preemies on google I noticed that preemies often have huge iris' that take up all of the eye socket because they are so tiny.

I have recently begun ultra-micro-rooting Adeline with a goldeny light brown color. Having produced a nice swirl, I am rooting 1-2 fibers at a time with a 43 gauge german forked rooting needle. I think that a 42 gauge would have been a little less challanging and plan to order some in the future.


In addition to the preemie twins, I just finish painting beautiful Londyn by Denise Pratt.
She was purchased by my Mother-In-Law Amy Marie as a personal collection baby. 
I have to say, she will be my next purchase, this baby is so beautiful once reborned that it amazes me. Here is the sculpt 
I haven't begun to root her hair as of yet, but here she is assembled sans hair.

She feels so real in your arms and is very cuddley.

It was such a pleasure to reborn her for Amy Marie, I will also do her hair, which I am looking forward to doing.

On the horizons are four more babies, one fairy to finish, and a lot of clothing to make.
Just a little hint at my others, I will let you know what kits.
Kandel by Pat Moulton
Chrisy by Pat Moulton
Paisley by Denise Pratt (so very excited about this one)
and Blinkin by Donna Rubert.
I will include before/after pictures another time.

Looking forward to the next few weeks leading up to getting on the road with my wonderful husband. I will be doing a lot of crocheting for babies and other projects that are easy to travel with, maybe even some rooting! 

Sunday, June 9, 2013

ALMOST done!

I finally have an update on my latest baby!
It took a while, in between work, moving, having a husband to care for and spend quality time with in between spending much needed time with our families it has been hard to do the very detailed rooting job I have going on with "Riley".
(I really MUST think of a name!)
Here is her completed swirl and all I need to do now is thicken her hair up a bit, cut it, and seal it.
 
 
Her little swirl is SO cute! I love it. The micro crown needle is working pretty well, since the 43 gauge forked needles that I have are a bit too small for this type of mohair. I have been using ruby red's mohair from BB and must say that I really like it, it is very soft and the texture is actually really nice. I just can't use the 43 g needles. The 42 g forked needles do really well with this mohair, I just don't have any right at the moment.
 
Here are some pictures with her hair wet, semi-cut, and not thickened with more mohair yet.


Not sure about how much thicker she needs to be since she fits newborn size.
We'll see.
 
Lately I have been thinking of getting some tutorials and ebooks, particularly the R.E.A.L  reborn and Precious little baby dust's videos. But they are so expensive! I feel like as a reborn artist that is just making it by doing what I love, these people are really racking up!! Especially when I read in blogs of all the ladies that have ordered them. Don't get me wrong, they do improve your art, and maybe I can justify the $90 when I sell a baby at high dollar because of it, but I wish you could pay $100 or so and get more than just ONE specialty.  Like a combo hair painting, rooting, veining, skin texture thing, you know? But $50+ for EACH category will make you go broke before you get the chance to finish a baby!
 
Oh well, I'll probably break down eventually and get one at a time. Maybe I can go in with someone else (like Amy :) ) and share.
 
Anyway, thank you for looking and if you have any name suggestions for little baby just let me know!!

Tuesday, April 9, 2013

My Asian Reborn (Mini Tutorial)

Hello and welcome!
Today I began reborning my "Riley" kit by Aleina Peterson.
I thought that she would look great with an Asian skin tone. Now, I wasn't sure what steps I should take to achieve the tone that I was wanting so I did a bit of digging to find out.
I viewed a LOT of pictures of Asian babies on google, which by the way were so so cute!
I found a couple of forums that mentioned some colors used, and of course Nicki Holland's tutorial using Real Effects air dry paints.
Since I use GHS paints, I had to come up with my own game plan.
I had the basic reborning kit (from Bountiful Baby) and a few other colors I ordered separate. and so I ordered also yellow ochre, flesh 05, and flesh 04 all in .5 full oz. jars (quite a LOT) which cost me around $20 US dollars.
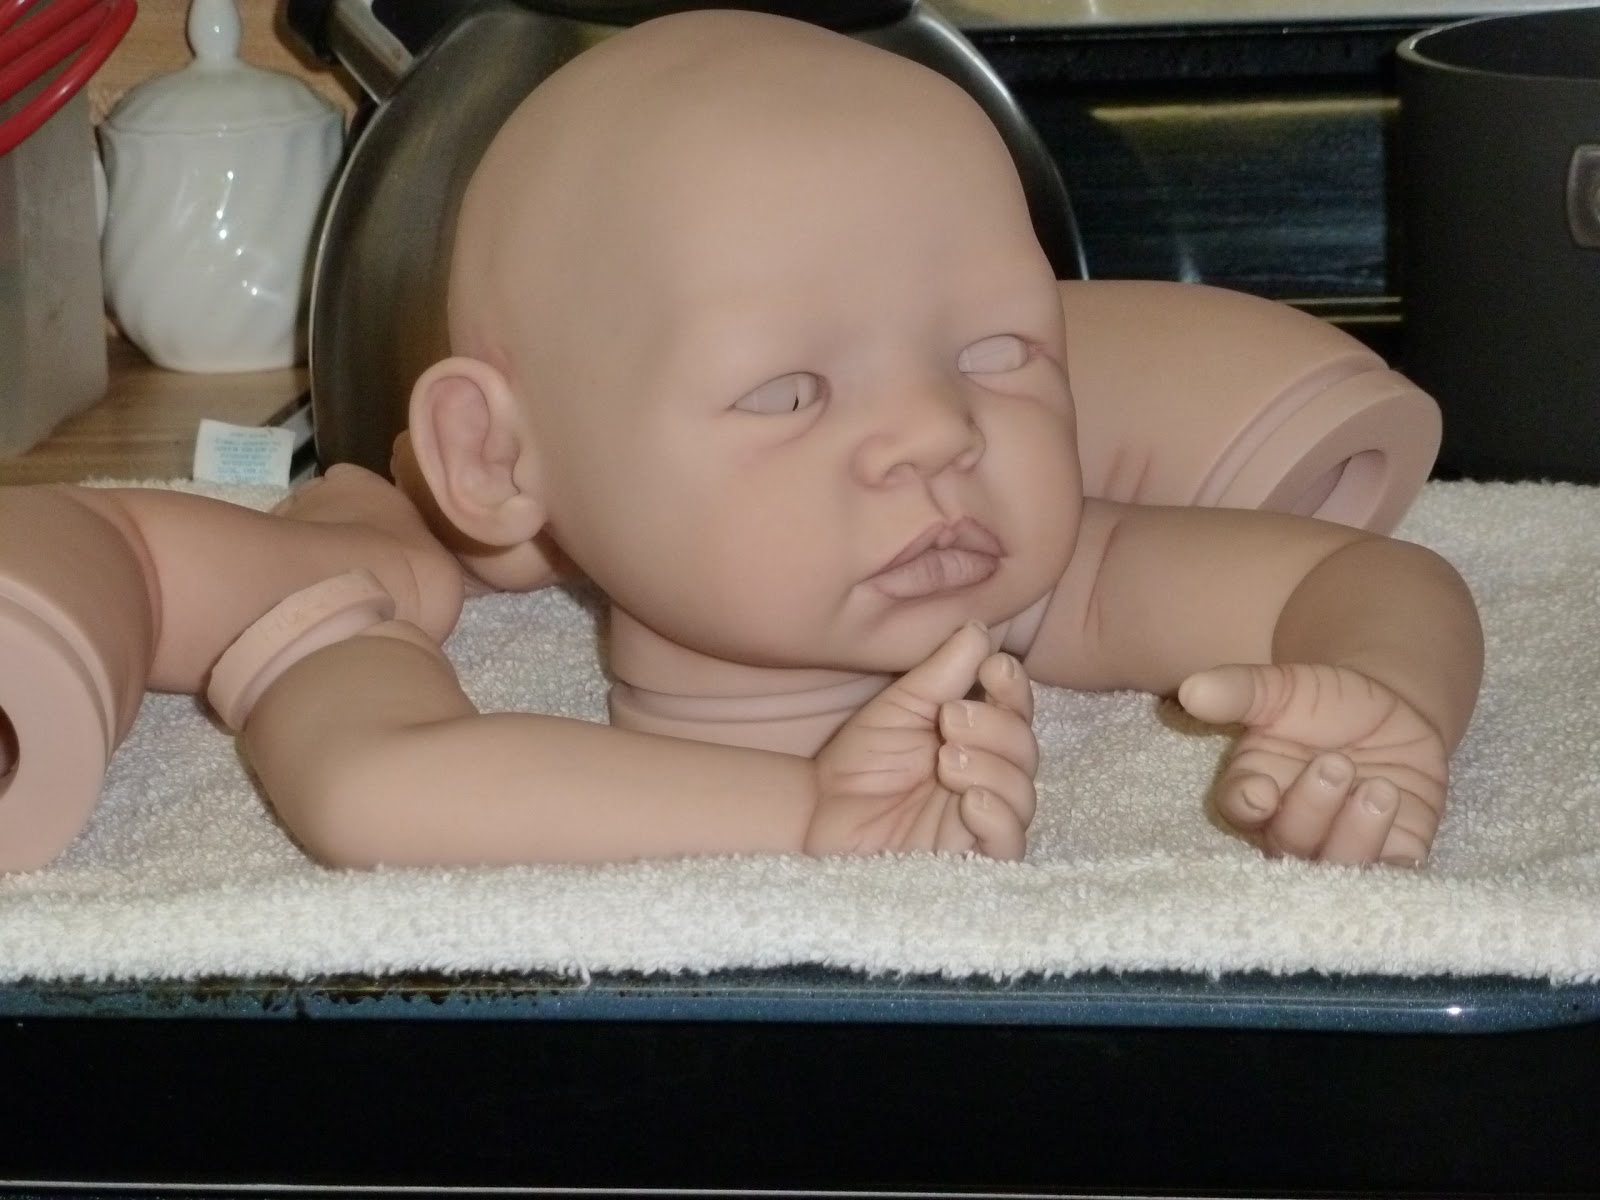
And so I began this morning with a fresh, clean "baby".
I started with a wash of yellow ochre.
I wanted to do that first so it would give the kit a good foundation for the skin tone I was going for.
 
 This is the consistency that you want, really nice and thin on the paper towel and nice and thin in your mixing tray.
I used much more than this but needed to mix it up again to demonstrate.
Apply with your brush and then pounce with a cosmetic wedge.

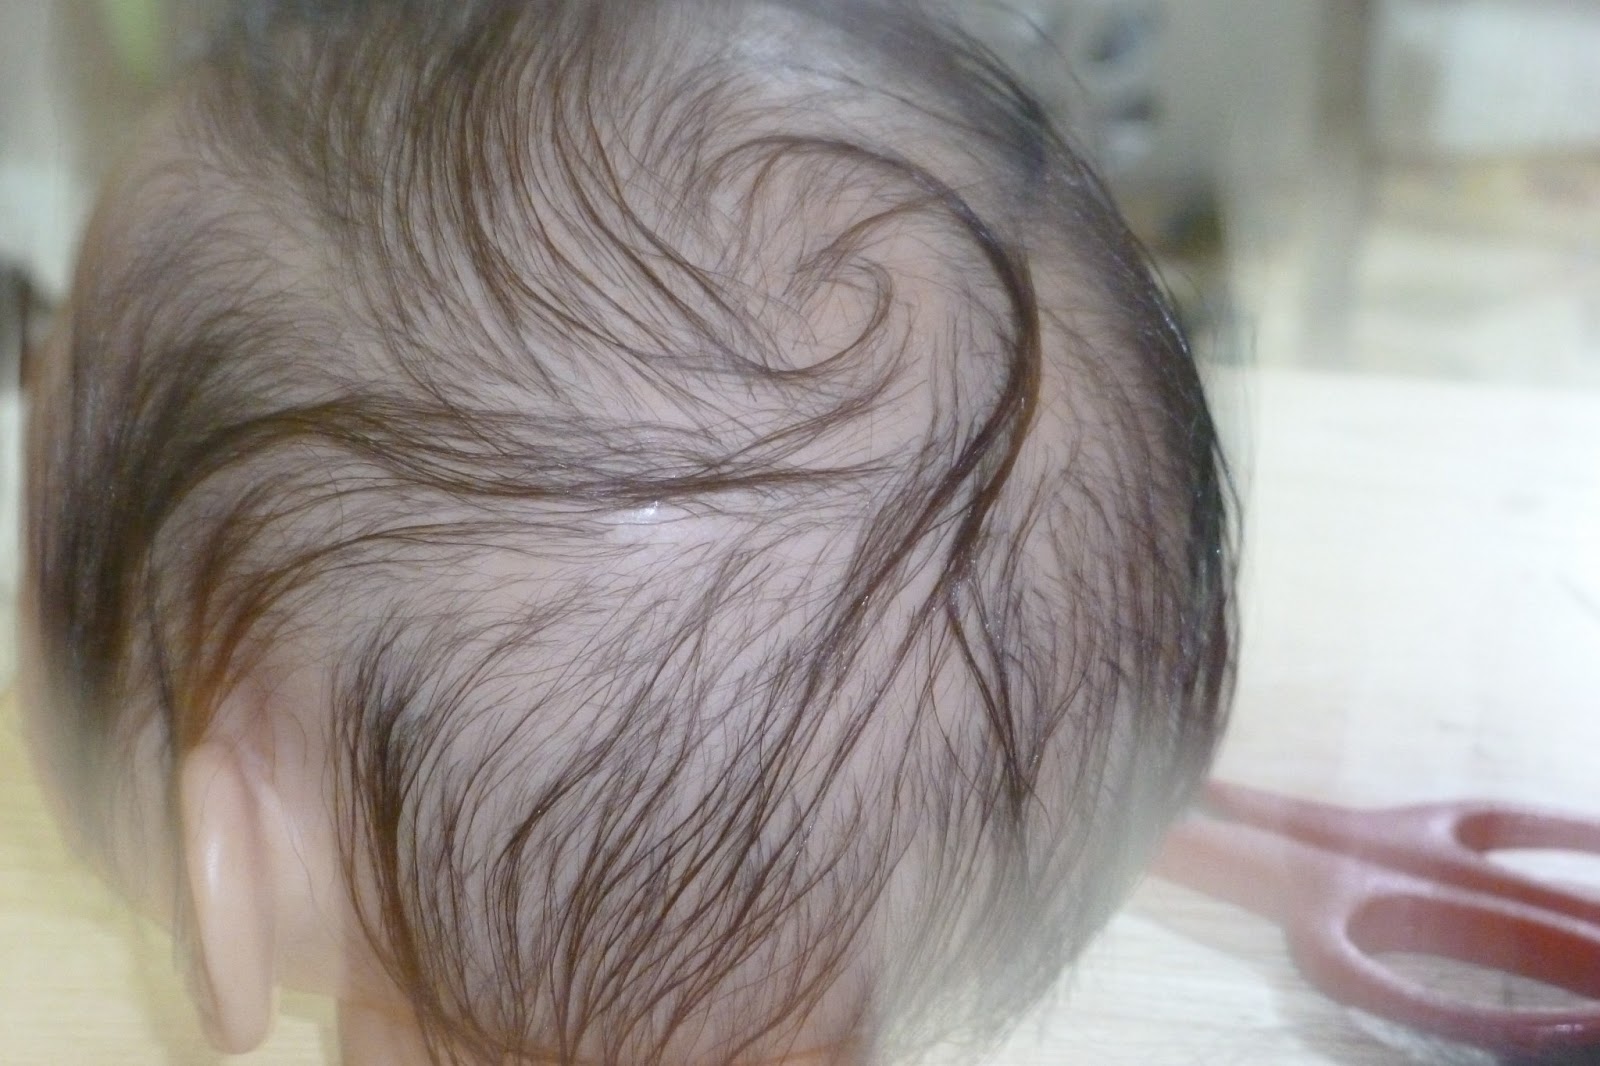
I VERY lightly veined her in the next step, also started with creases and lips.
 

Now comes the first skin.
I mixed Flesh 05, with a bit of Flesh 08, Yellow Ochre, and some thinner.
 
 
Brush paint on sponge, pounce from sponge on vinyl.
 
I'm not sure you can see the actual color difference, but in person it's pretty dark!
Remember to bake at 265 degrees Fahrenheit for AT LEAST 8 minutes.
I bake for 9 full minutes when I have large areas of paint.
And PLEASE!!! take your time! Let all the thinners dry off before baking so that you can check the final area where paint is. I worked for over 11 hours just today and I have a couple of steps still left to do that I will explain at the end of the post.
Also let the vinyl cool completely between baking and painting.
 
So next, I did another crease and also did the half moons on her toes and nails.
This step is usually so hard, BUT I have a great tip!
Use the calligraphy pen that I showed you on my painted hair blog post tutorial!
(oh sorry, I forgot to take a picture of her half moons!)
 
 
Okay, going a little darker.


This is Flesh 05 Flesh 04 and yellow ochre with thinner.
Again, apply the paint to the sponge first.
 
 
 The photo above was to show her little lips. The thinner hasn't quite evaporated off yet so she looks shiny, but she is really just wet.
One other step I didn't show was tipping her nails. I did this with a toothpick and a few coats after I did her half moons because I wanted her nail tips to be brighter then the half moons.
 
 
Okay, the toothpicks are where I drilled her nostrils and was making sure they stayed nice and round.
I have to say that I am so happy with how she came out today! I did do some very light brows so that I have a bit of a guide tomorrow, but after her brows I have just to painter over her little nail bed with a pinky flesh tone, and then varnish her pieces. I just ordered some more mohair for her, I have one order of 1/4 oz black mohair, but I am not quite sure it will be enough, so I ordered more just to be safe.
I hope that you enjoyed todays part of the tutorial on Asian skin.
Tomorrow I am going to make her body and finish up her final baking, start her rooting and take more photos.
Thanks for visiting, and God Bless!