Hello!
I know it's been a while, but I've been switching between
WordPress and here trying to get a feel for what seems more Jennifer friendly.
Anyway, since I have been oh so absent from my blogs I thought that
I would do a DIY that I just did myself today.
This sprang from my need to house my patterns.
Well, more specifically, this came about because
I am not willing to pay the astronomical amount that Hancock Fabrics
has began charging for their "fluffed up" new boxes.
I have two of the original blue cardboard ones that you could
get just a few years ago.
Last year I had decided that I was definitely in need of
a few more boxes and I really like them to match if I am storing the same things.
Well, low and behold I looked everywhere and never saw the familiar flat blue board
that you put together yourself with lid and a space for an inventory of the contents.
Then something caught my eye.
Wow! Pretty new boxes!
...Then...
Yeah, NO! Now way I was paying $25 for a box to hold my many patterns, when I paid $2.50 for my last two boxes.
So it's been a year or so and now we come to another 5/$5 Simplicity pattern sale.
Needless to say...
I will need a new storage solution.
DIY pattern boxes!
So, long story short I'm sure anyone reading this would like to get down to the business at hand.
**This is also a great way to up-cycle any med/lg-ish boxes.
I ship a lot of USPS so I always have boxes.
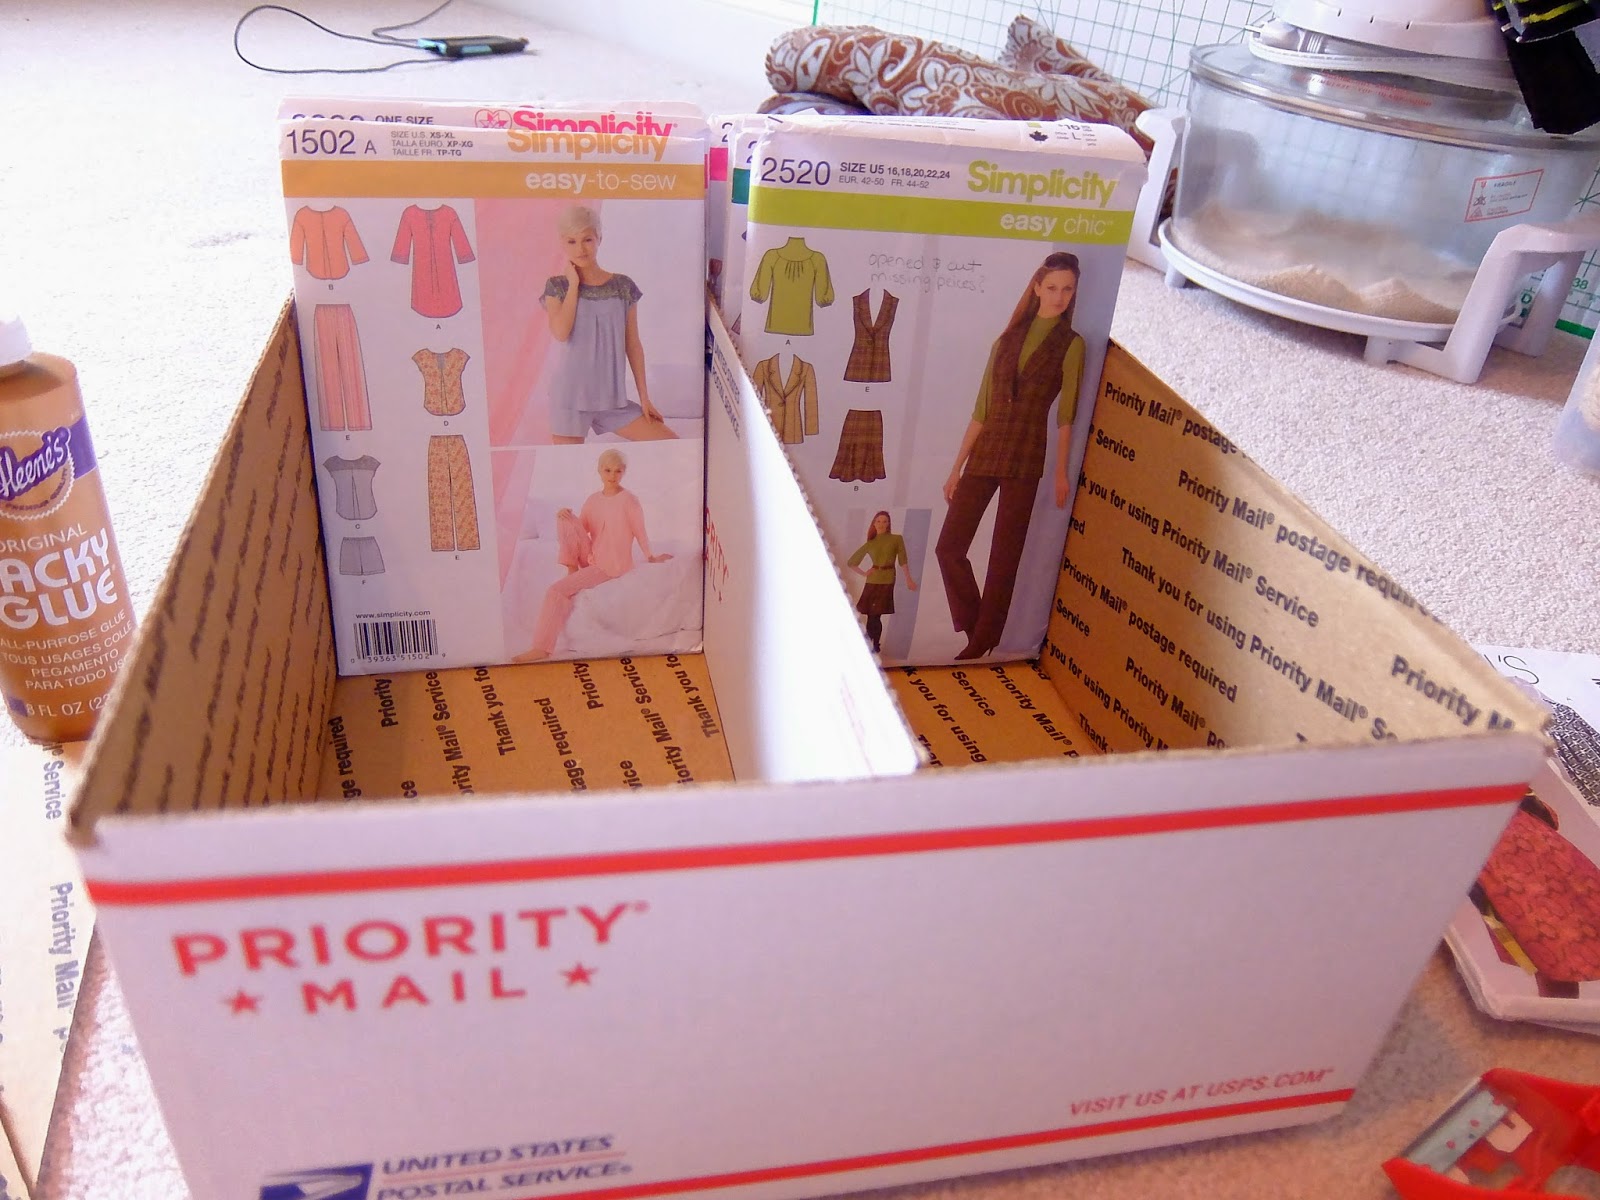
This box fits snugly two rows of Simplicity pattern envelopes.
McCall's are a little big. I didn't really try any others since the majority of my patterns are Simplicity.

You will need:
A Large USPS flat rate shipping box (preferably as clean as possible)
Box cutter
Scissors
Fabric (I used a heavy weight duck fabric, but any will probably do)
Tacky Glue (the kind that dries clear, Aleena's, fast grab will work too)
Optional but recommended:
Iron
Ironing board
Okay, the first step is to cut the top flaps off as carefully and accurately as possible.

Then you will want to use one of the flaps for the middle part, so save it. And cover it similar to the side.

You will want to put the sides and bottom together as if you were shipping a package without the top.
Next you can cut your fabric so that you can cover the flap on all sides with about an inch around the whole thing.


You can use the same flap for measuring fabric for the other sides as well. You will have four fabric panels for the sides.


Then, for the base of your box, trace a square of fabric out for the bottom of the box. Don't worry about the edging, we can run a little smear of glue around the bottom to stop any fraying. Slip down in your box and trim until it fits nicely and no cardboard shows.
Iron the edges of your side panels, starting with the sides then the top and bottom edge.


Slip your flap that you used as your template into your panel to check the size.

Then glue it down and check it again!


Now, start assembling.

You can just use your glue to align the fabric to the outside of the box, squaring it up and pressing firmly to secure, making sure that the inside of the box is covered with the fabric firmly as well. Glue that too.
Now if you look, you might notice that there is a gap and the box is showing through.

Simple fix.
Grab a big marker and just do this...


Around all sides.
Now finish gluing.

Make sure you are ironing any wrinkles out along the way.

Now glue in place your square piece that you sized earlier to the inside bottom of your box.
You can rub some glue along any frays and make sure it is secure before gluing your divider that you made earlier.

Making sure that your divider is centered, add your glue line and place the divider. You can also add some more to the sides, smoothing it out with your finger. Remember, it will dry clear.

Now, let dry really good.


AND...
You're Done!!!!!
Hope you enjoyed this little DIY project as much as I did.


